


There’s a little-known snag with Starlink when it comes to cross-border, off-grid deployment. Your Residential Starlink service location (the geolocation of your Dishy) must remain within the borders of the country registered on your Starlink account. This country setting is immutable - it cannot be changed once the account is created. This may not be an issue for Americans, since they typically just move between states. But in Europe's geopolitical landscape, it’s quick and easy to cross country borders — and that’s where the problem begins.
If you’re wealthy enough to afford one of Starlink’s global roaming subscriptions, you might be fine. But if you're like me - on a tighter budget, relying on a residential subscription - you may naively assume your global satellite internet kit will “just work” anywhere, regardless of the country you originally were in for testing. Unfortunately, that’s not the case…
Let’s say you're planning to go off-grid in another country and choose Starlink as the obvious internet solution. You do the smart thing and decide to test your equipment in advance before deploying and relying on it in the field. But this step — as innocent and responsible as it sounds — can inadvertently lock you out of your Starlink hardware for 3-4 months.
Here’s what a typical setup might look like:
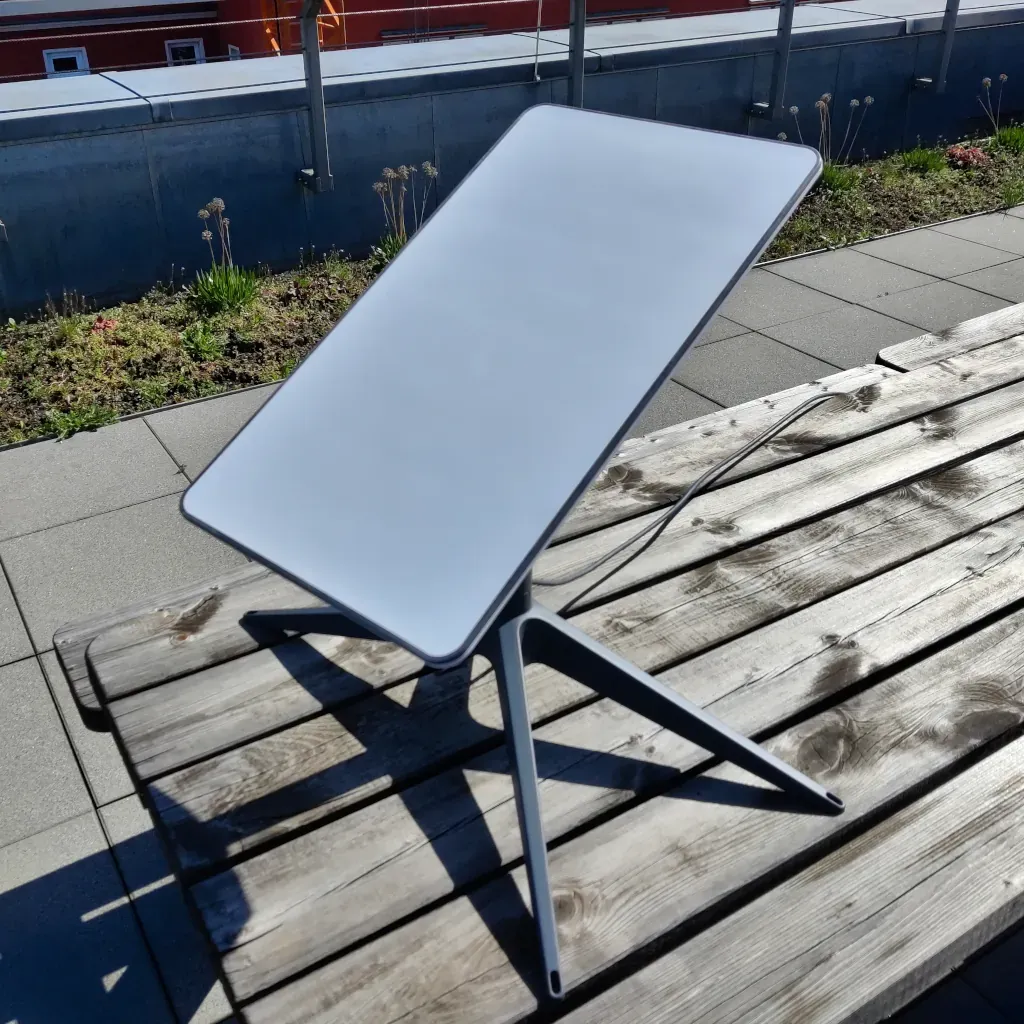
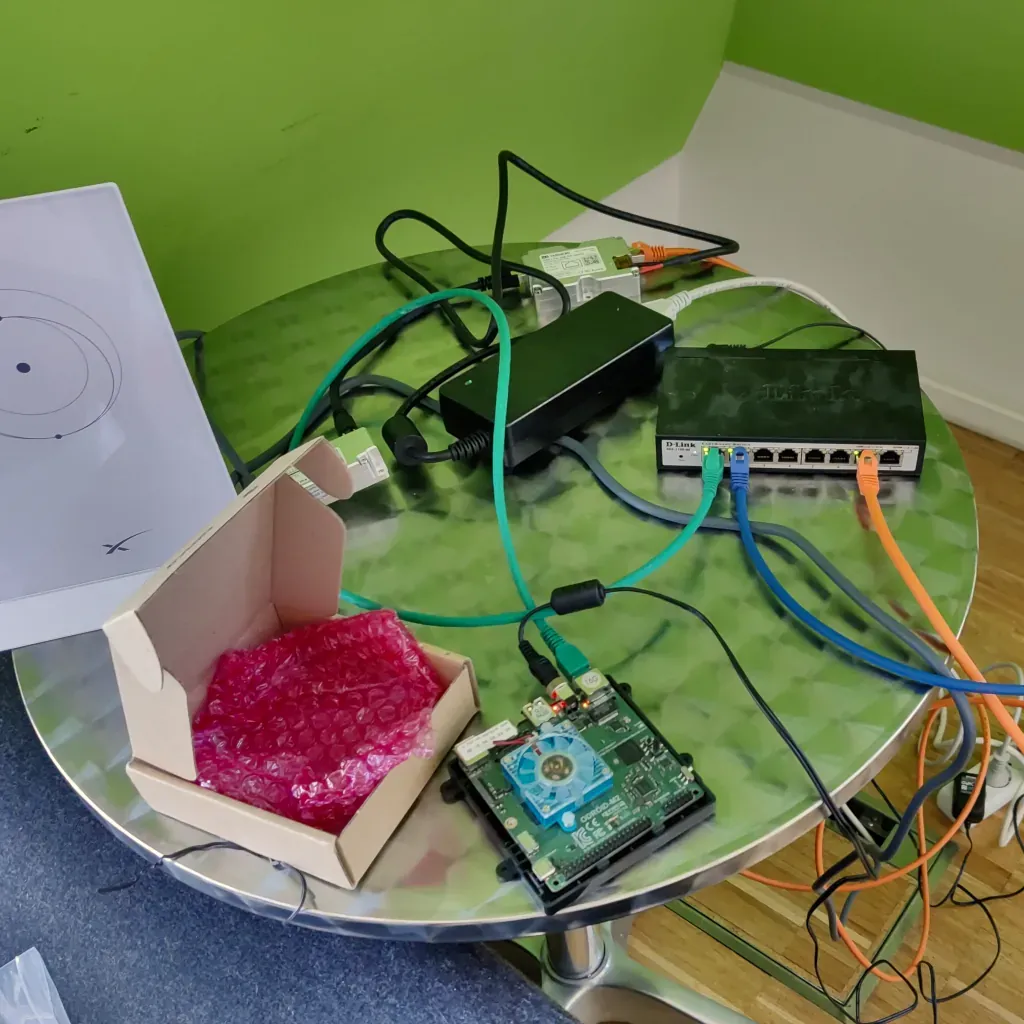
Starlink Dishy Gen2 and custom PoE injection test setup
- You activate your Starlink Kit, create a Starlink account, and pay for a subscription tied to your current (testing) location.
- You set up your Dishy and infrastructure to test everything — connection, performance, power delivery, etc.
- Everything works. You pack up your kit and prepare for your off-grid trip abroad.
Then, once you're ready to deploy in your destination country, you go back into your Starlink account to update the service location — only to discover that you cannot set a location outside of your account’s original country.
Starlink’s Workaround - and the Catch
At the time of writing, the only way to change the country associated with your Starlink account is to:
- Cancel your existing subscription (used for testing)
- Remove the hardware from your account
- Create a new Starlink account in your destination country
- Re-activate your hardware under the new account and subscribe again with your proper, final service location
That may sound inconvenient, but doable - right?
Here’s the catch: this process qualifies as a “transfer of ownership” and Starlink enforces a transfer restriction period of:
- 120 days after purchase, or
- 90 days after activation, whichever comes first.
If your hardware is within this restriction window, you’re locked out — and can’t associate your kit with a new account.
Why the Transfer Restriction Exists
Starlink enforces this policy for several reasons:
- Prevention of Resale Abuse
To stop people from buying discounted hardware (via regional promos) and flipping it for profit elsewhere. - Service Commitment
To encourage users to remain active customers for a reasonable time instead of using the service short-term. - Operational & Regulatory Compliance
To manage inventory, activations, and comply with certifications and regulations by region. - Protection of Promotional Discounts
Ensures customers who benefit from discounts don’t turn around and resell immediately.
See details in the official Starlink support article: How do I transfer ownership of my Starlink hardware?.
Recommendations
- Test early!
If you’ve just bought your Starlink Kit and still have more than 120 days before your trip, you’re safe — no risk of being left without internet on site. - Already locked out?
Check your purchase invoice (especially if you bought through a reseller). If it's been more than 120 days since purchase, open a support ticket with Starlink and upload the invoice — they may manually unlock your kit. That’s what worked for me.